Get Started
To get started import the package as follows.
- Open a Unity project.
- In the menu bar, click on:
Window > Package Manager
- In the package window select MyAssets and the Atlas Terrain Editor package.
- Confirm and import.
Initialization of Atlas
- Create a Unity
terrain.
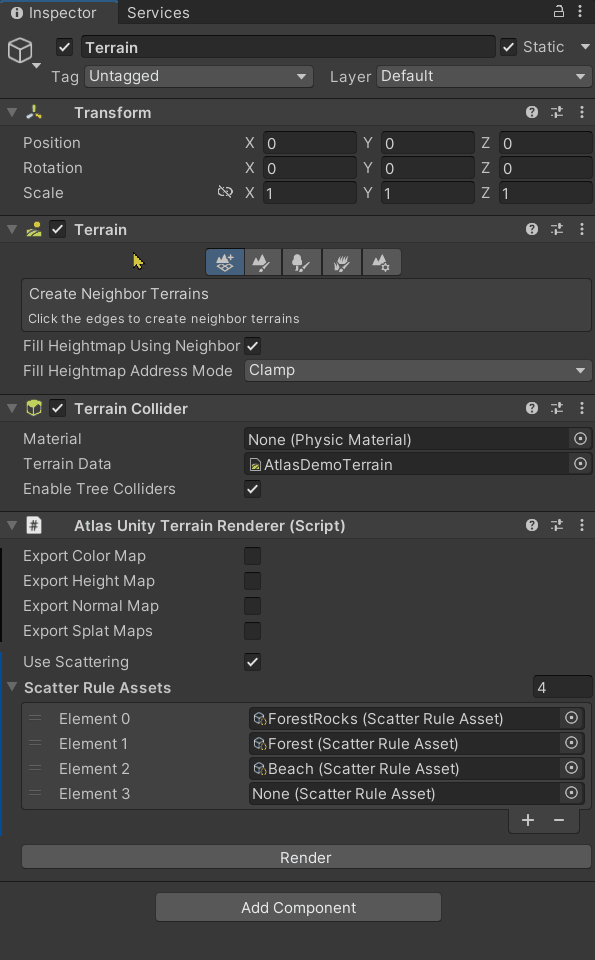
- Assign "AtlasUnityTerrainRenderer" component to it.
This will bind the tool with the terrain
- Set up Terrain
Layers.
- Right click on the hierarchy window and select:
Atlas > Unity > Preview Volume
Atlas will render your stamps in real time within this preview volume
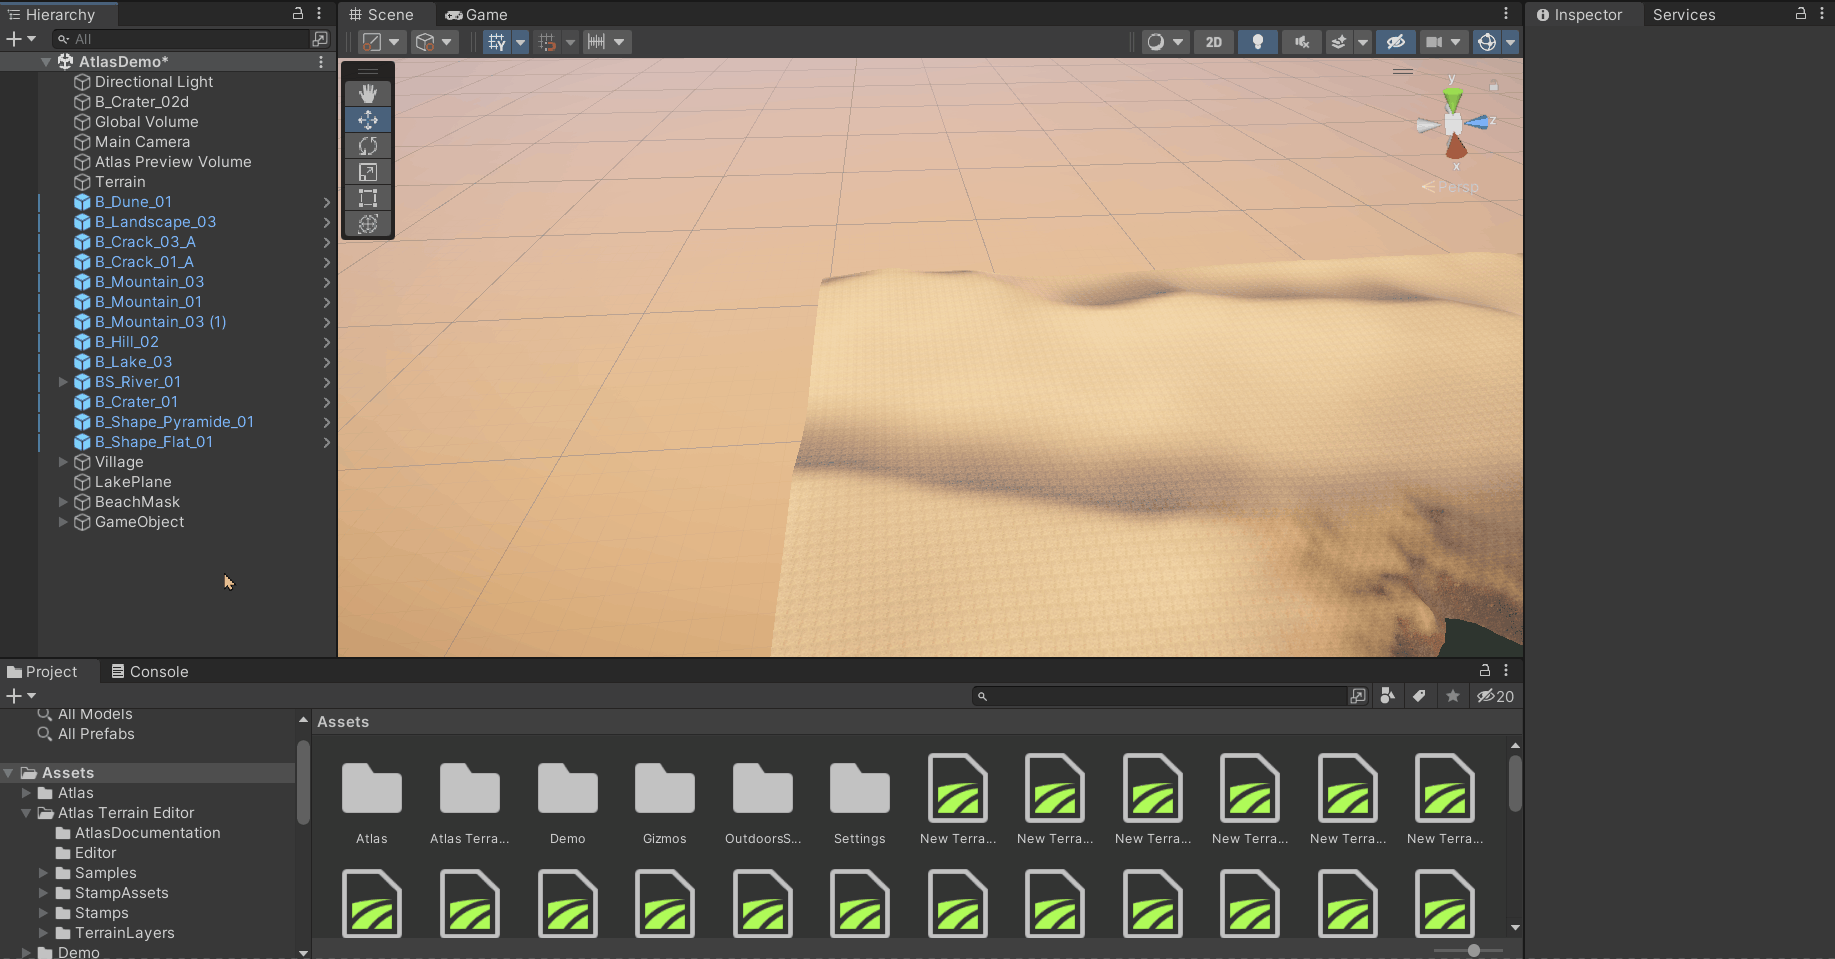
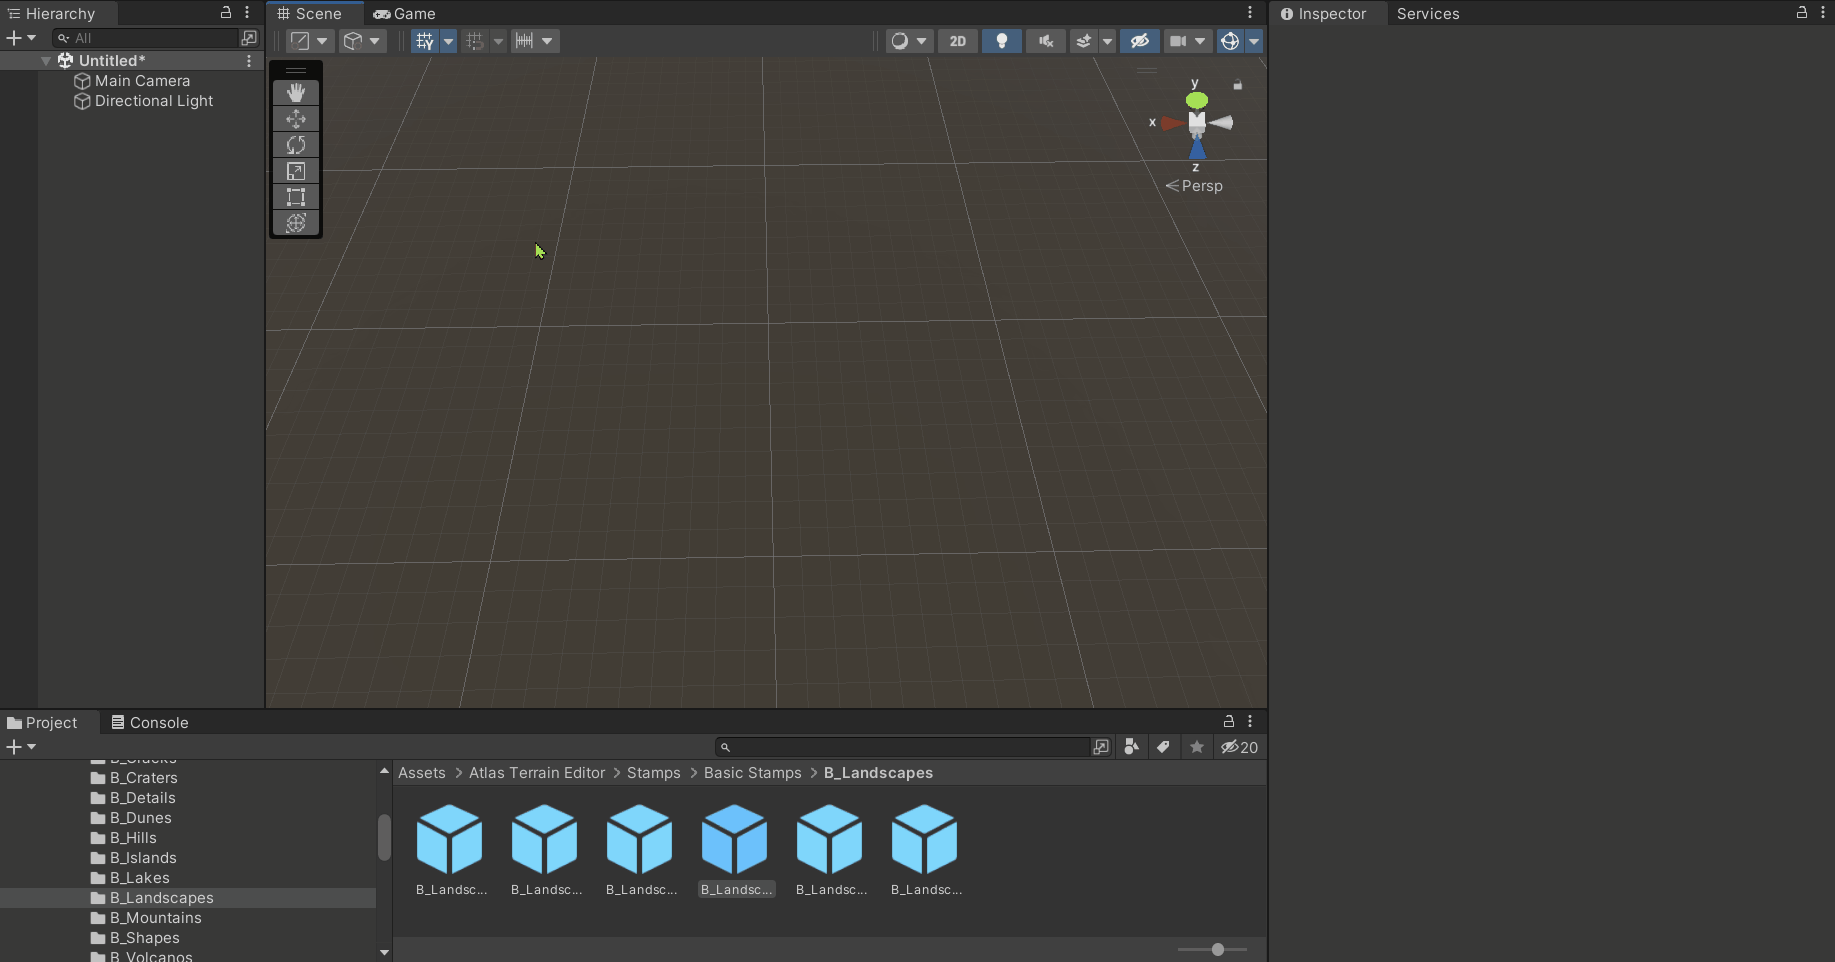
Editing Terrains
- Select the Preview Volume.
- Click edit to preview your stamps.
The terrain will be rendered in two parts:
- Part 1 = all terrain at lower resolution
- Part 2 = a smaller square at full resolution
- You can move the smaller preview square around to the location you want to work on, by default it will automatically centered on your view.
You can increase/decrease its size by adjusting the "preview render resolution"
property
Quickly switch edit modes
requires Update 1.04 and 2022.2+
Atlas comes with its own overlay menu, see
here how to configure it.
- In the Scene view, press the ` key to display the Overlays menu.
- In the dropdown in the Overlays menu, select Atlas.
this feature requires unity 2022.2 or higher
Once the overlay menu is present you can use the buttons in there to switch between edit modes.
Splatmaps
- Make sure that you're in edit mode.
- Select your stamp.
- Click + to add a new layer.
- Click Preview Mask.
- Select one of the available masks as your input.
- Select one of the Splatmap layers of the terrain as target.
The order of the targets reflects the order of the Splatmaps you have configured for
your terrain
- Change the layer properties according to your wishes.
you can add more layers until you get the desired result

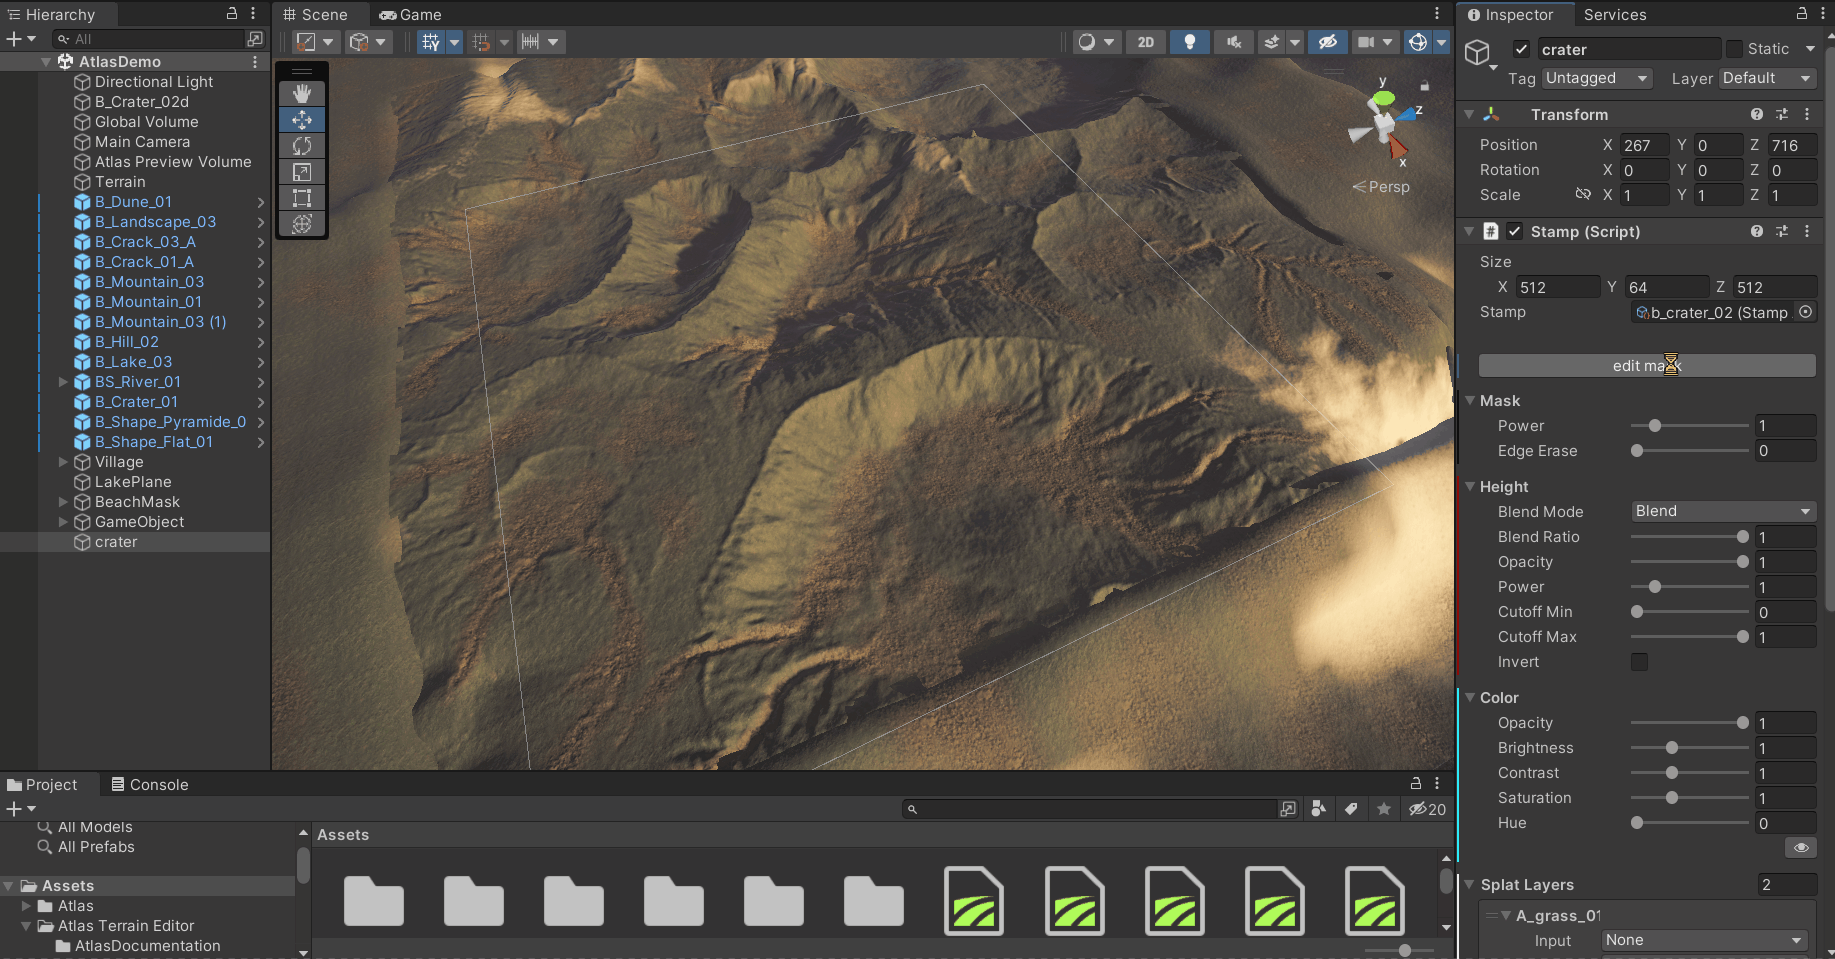
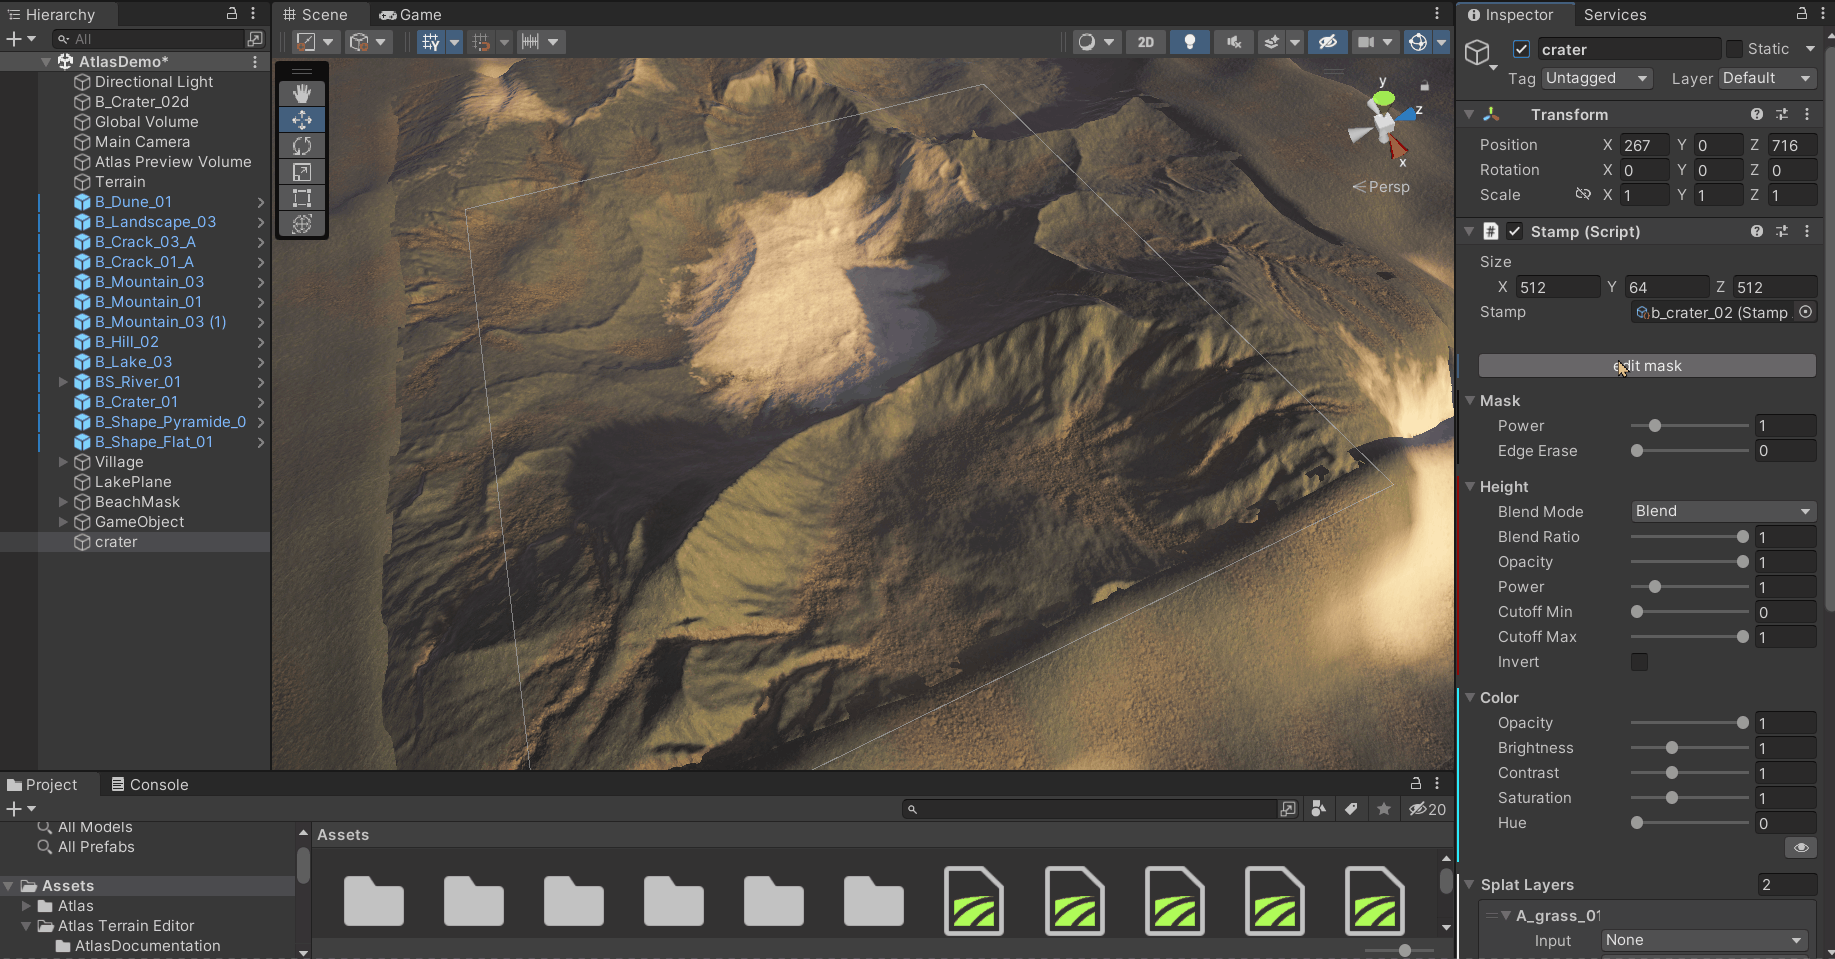
Manual painting / Brushing
Atlas has it's own paint brush you can use to paint height and splatmaps with, everyting that can be done with the built-in unity brushes can be done via the Atlas brush in a non destructive way.
Painted areas with the built-in unity brushes will be overwritten, Atlas only sees the stamps, it can't track what you do outside edit mode.
- Make sure that you're in edit mode
- Select your stamp.
- Click edit mask
- Adjust the size and opacity of the brush.
- Paint by clicking and dragging on the terrain within the bounds of the stamp.
- To invert the brush, hold down SHIFT
- Click on apply when you are finished.
If you're not satisfied with your results you can always.
- Click cancel to cancel editing.
- Click reset to revert to the original mask that comes with the stamp asset.
- Click clear to clear the mask and start from scratch.
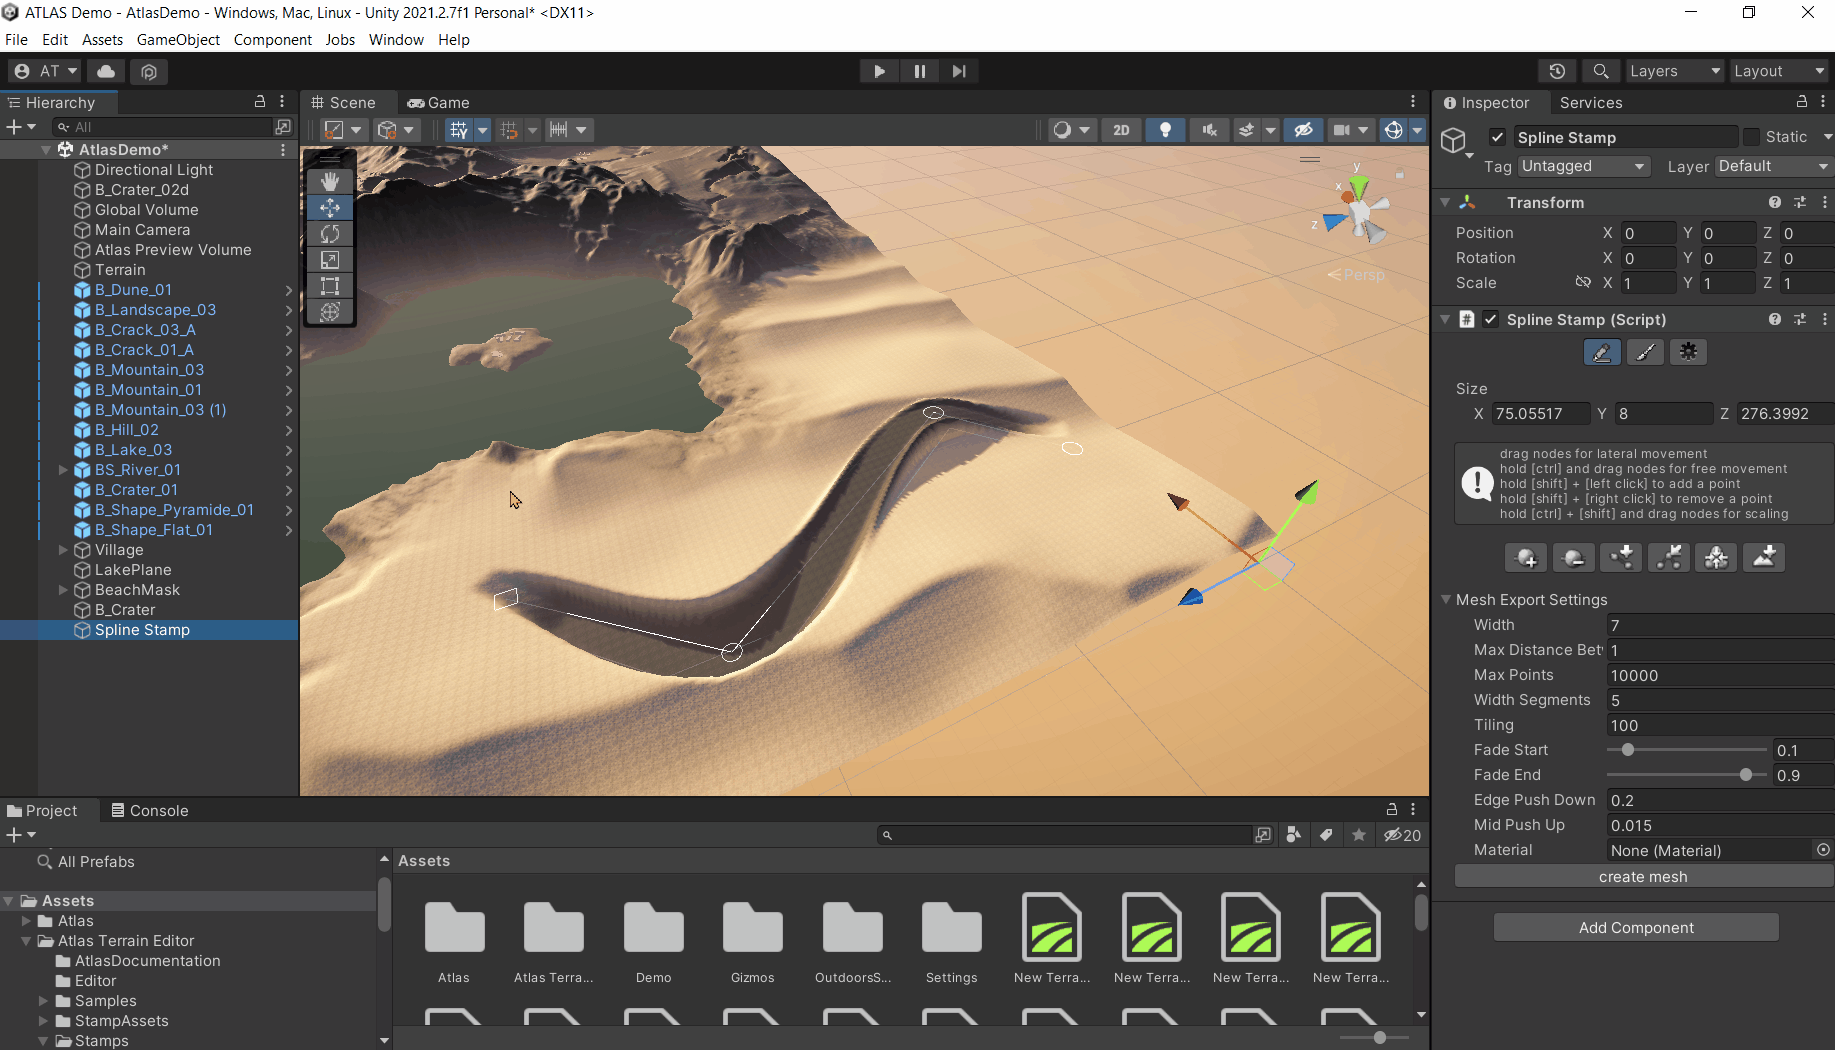
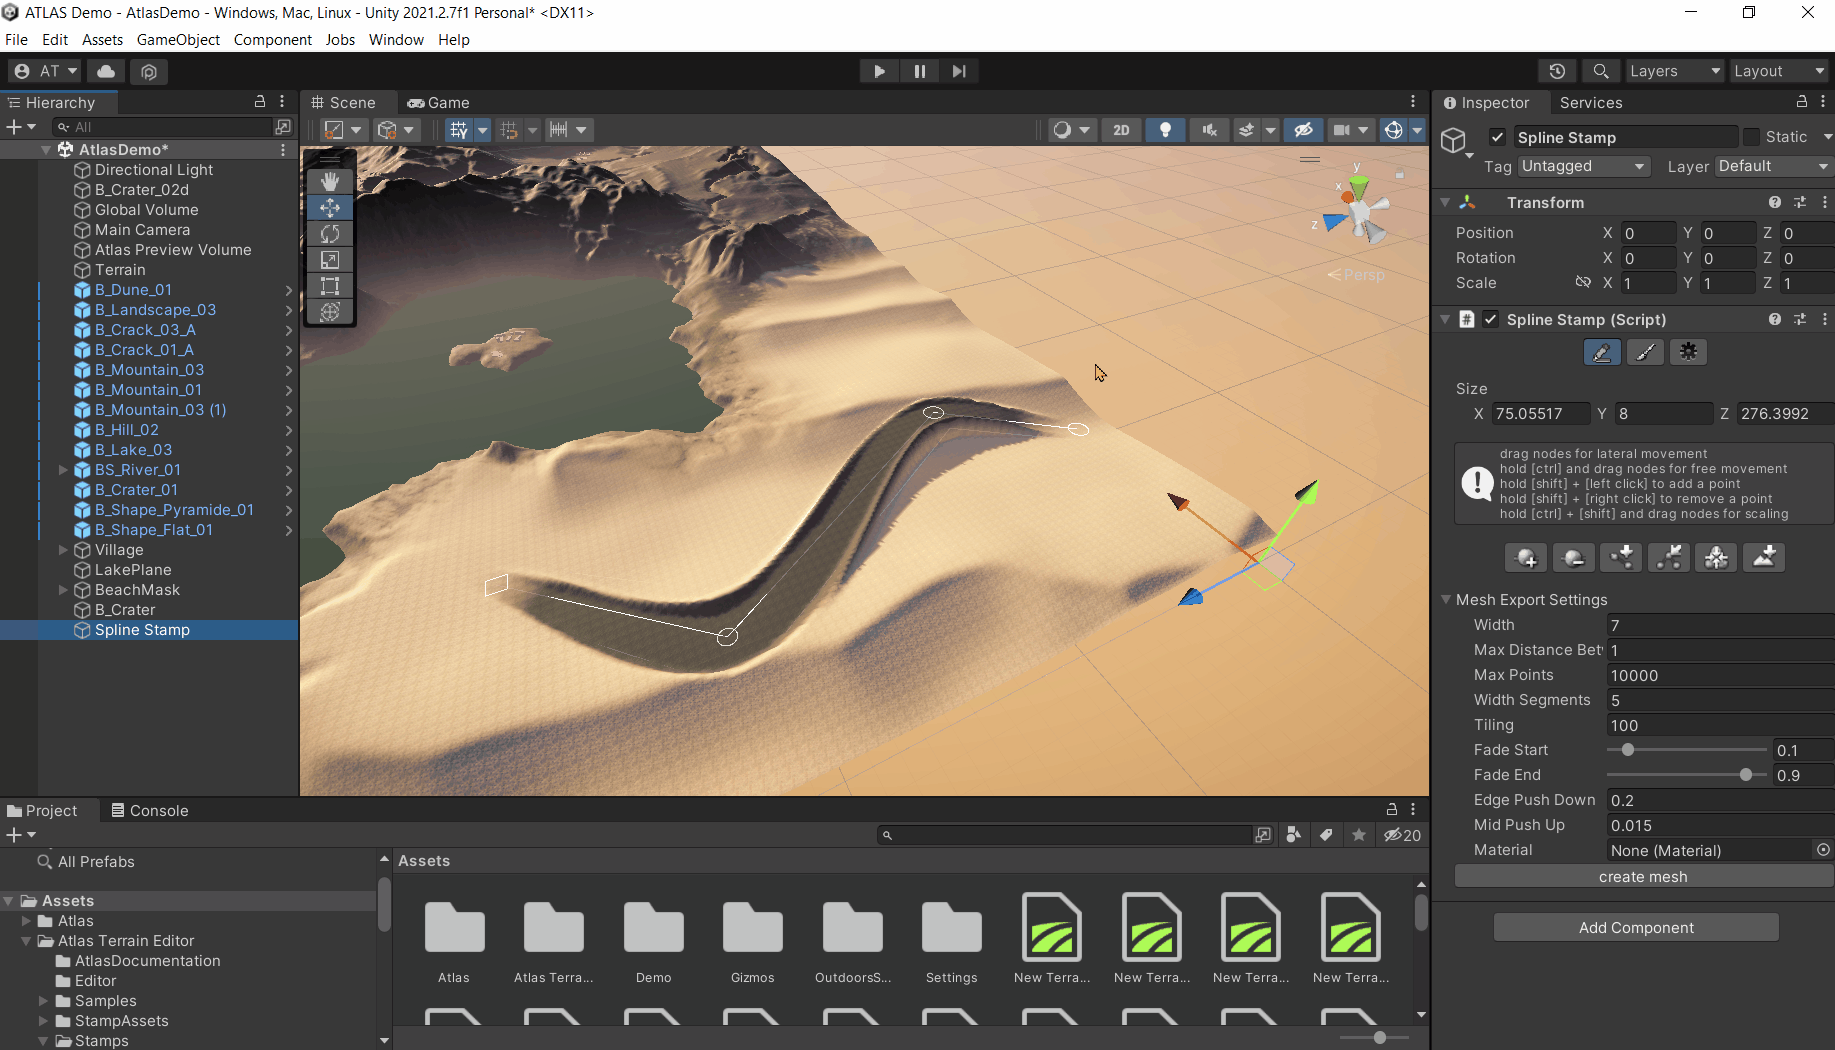
Spline stamps
- Right click on the hierarchy window and select:
Atlas > Unity > Spline Stamp
- Allocate one of the road stamp assets provided with the package.
- Drag a point to move it horizontally.
- Hold down SHIFT and LEFT CLICK to add a point.
- Hold down SHIFT and LEFT CLICK on the line to insert a point.
- Hold down SHIFT and RIGHT CLICK on a point to remove it.
- Hold down CTRL and drag to move a point in 3D.
- Hold down SHIFT + CTRL and drag to scale a point.
Adding details to your spline stamp
- Subdivide.
adds a new node between each node
- Smooth height.
averages all nodes height wise
- Smooth lateral.
averages all nodes lateral wise
- Smooth scale.
averages the scale value of all nodes
- Unsubdivide.
removes every other node
Aligning splines with the terrain
- Adjust the heightmap opacity to 0 before dropping to floor so that the spline doesn't drop to its own
height.
- Click on drop to floor
- Set heightmap opacity back to 1.
Spline to Mesh
- Adjust the mesh properties to your likings.
- Click create mesh to create it.
Tree Scattering
Atlas has a workflow of scatter rules where each rule is an asset on its own. These rules can be part of
a biome that can range from dense pine forests to desert fields or palm trees that are confined to a
beach area.
The basic scattering tool is able to place trees, grass and/or prefabs. If you prefer a different scattering tool, Atlas supports it as long as the tool works on default Unity terrain.
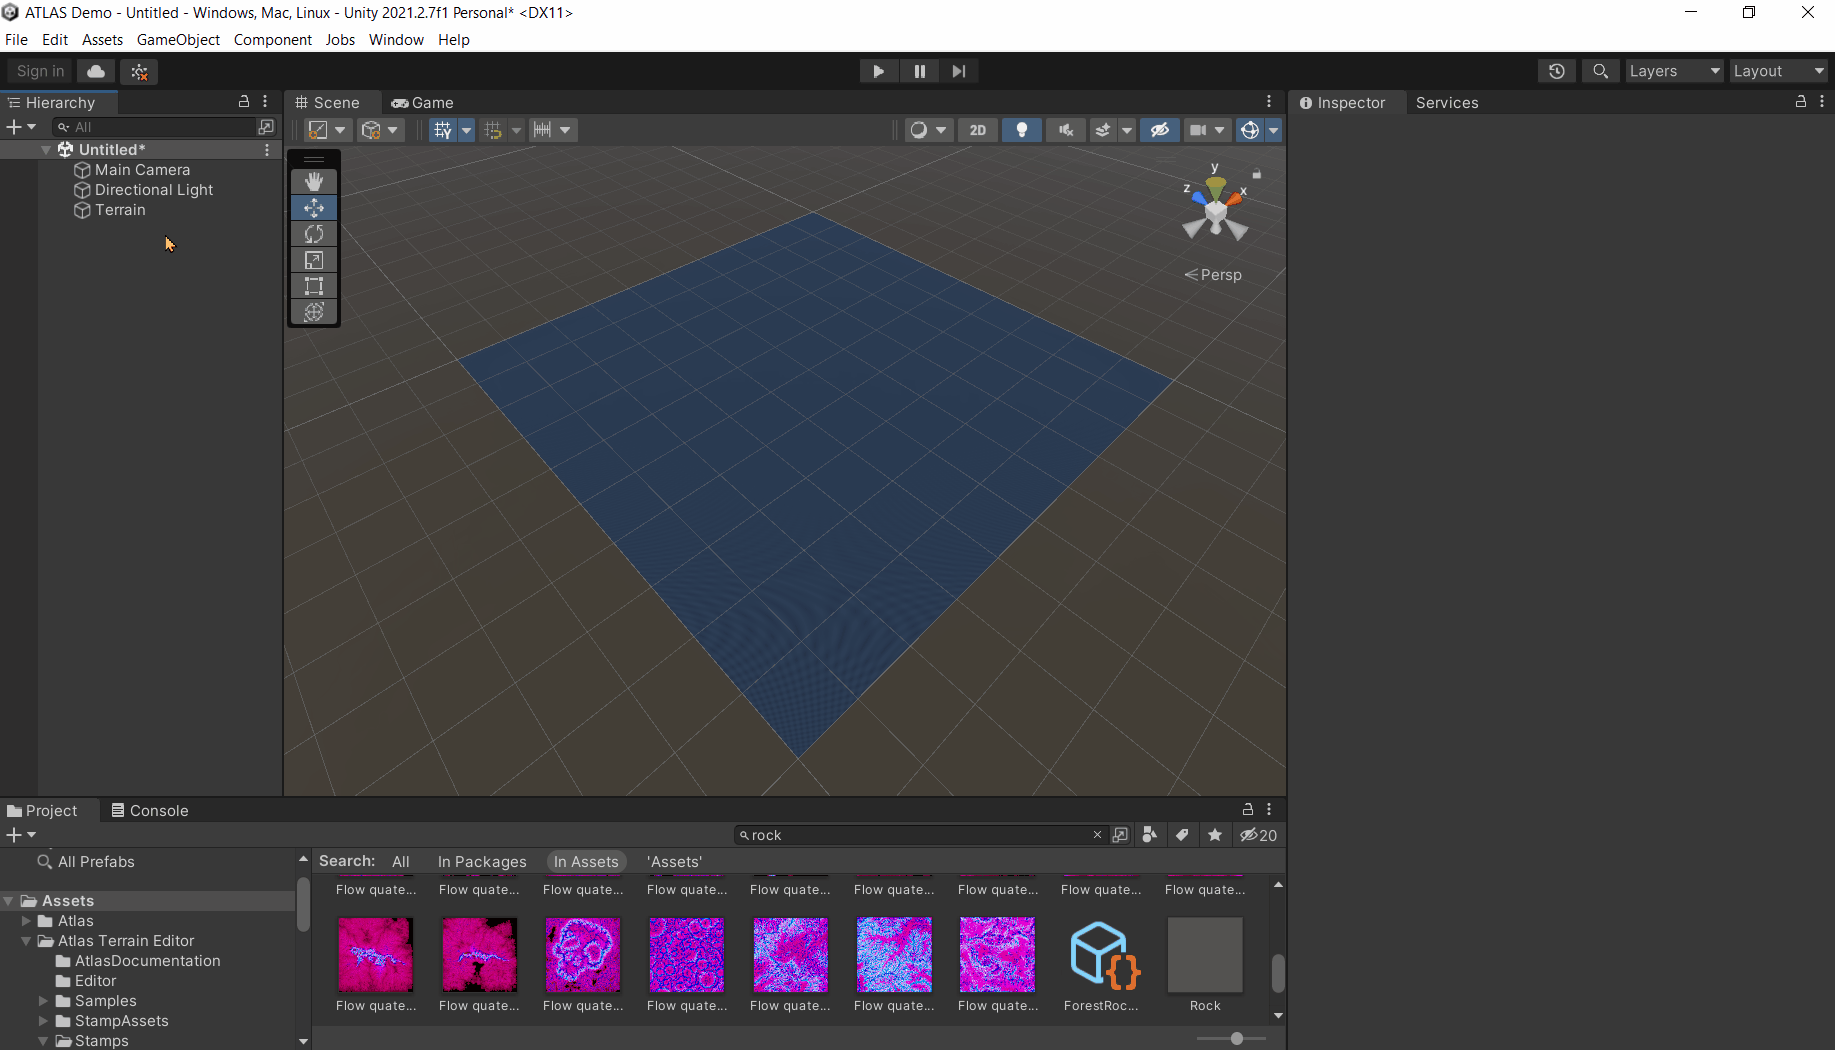
Creating a scatter rule asset
- Create a scatterer rule asset right click on the project window and select:
Atlas > Unity > Scatter Rule Asset
- Select the terrain.
- Make sure that scattering is enabled on the "AtlasTerrainRenderer" component.
- Create a new element and assign the scatter rule asset you just created.
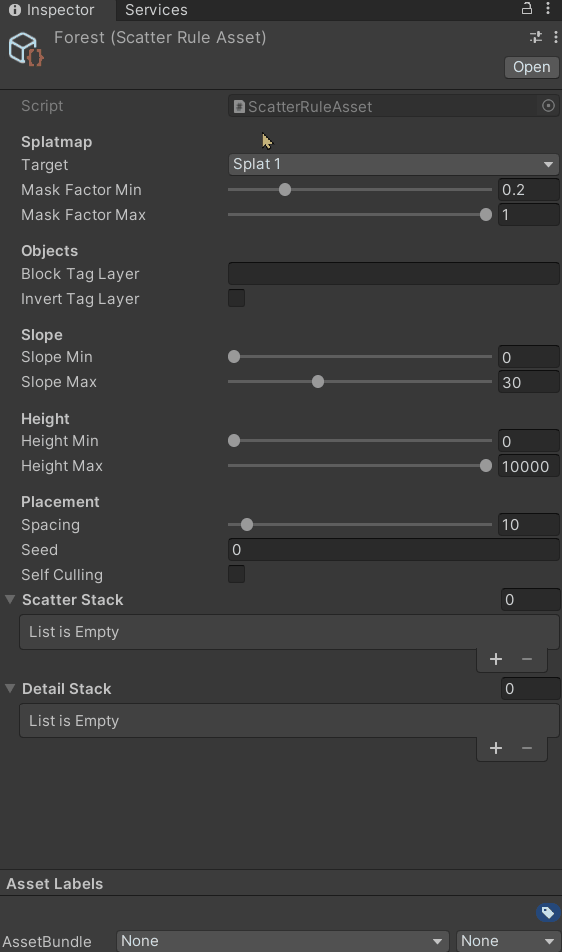
Configuring scatter rules
- Select the scatter rule asset.
- Select the Splatmap layer that you want to scatter on. In this example we'll be using Splat2.
- Increase the min slider to finetune the threshold of asset placement.
- Optional: block spawning assets by entering a tag that the scatterer should avoid.
- Adjust the slope and height sliders according to your wishes.
- Set spacing to 50
- Enable self culling if you want objects to cull each other.
- Add an element to the scatter stack and allocate some big tree prefabs.
- Set spawn radius to 25 and child count to 15
- Add another element with a big tree prefab.
- Set cull radius to 2
- Set spawn radius to 7.5 and child count to 3
- Add another element with a medium tree prefab.
- Set spawn radius to 3
- Set distance scale multiplier to 0.8
- Add a final element with some bush prefabs.
- Set cull radius to 1
- Set spawn radius to 3
- Set distance scale multiplier to 0.5
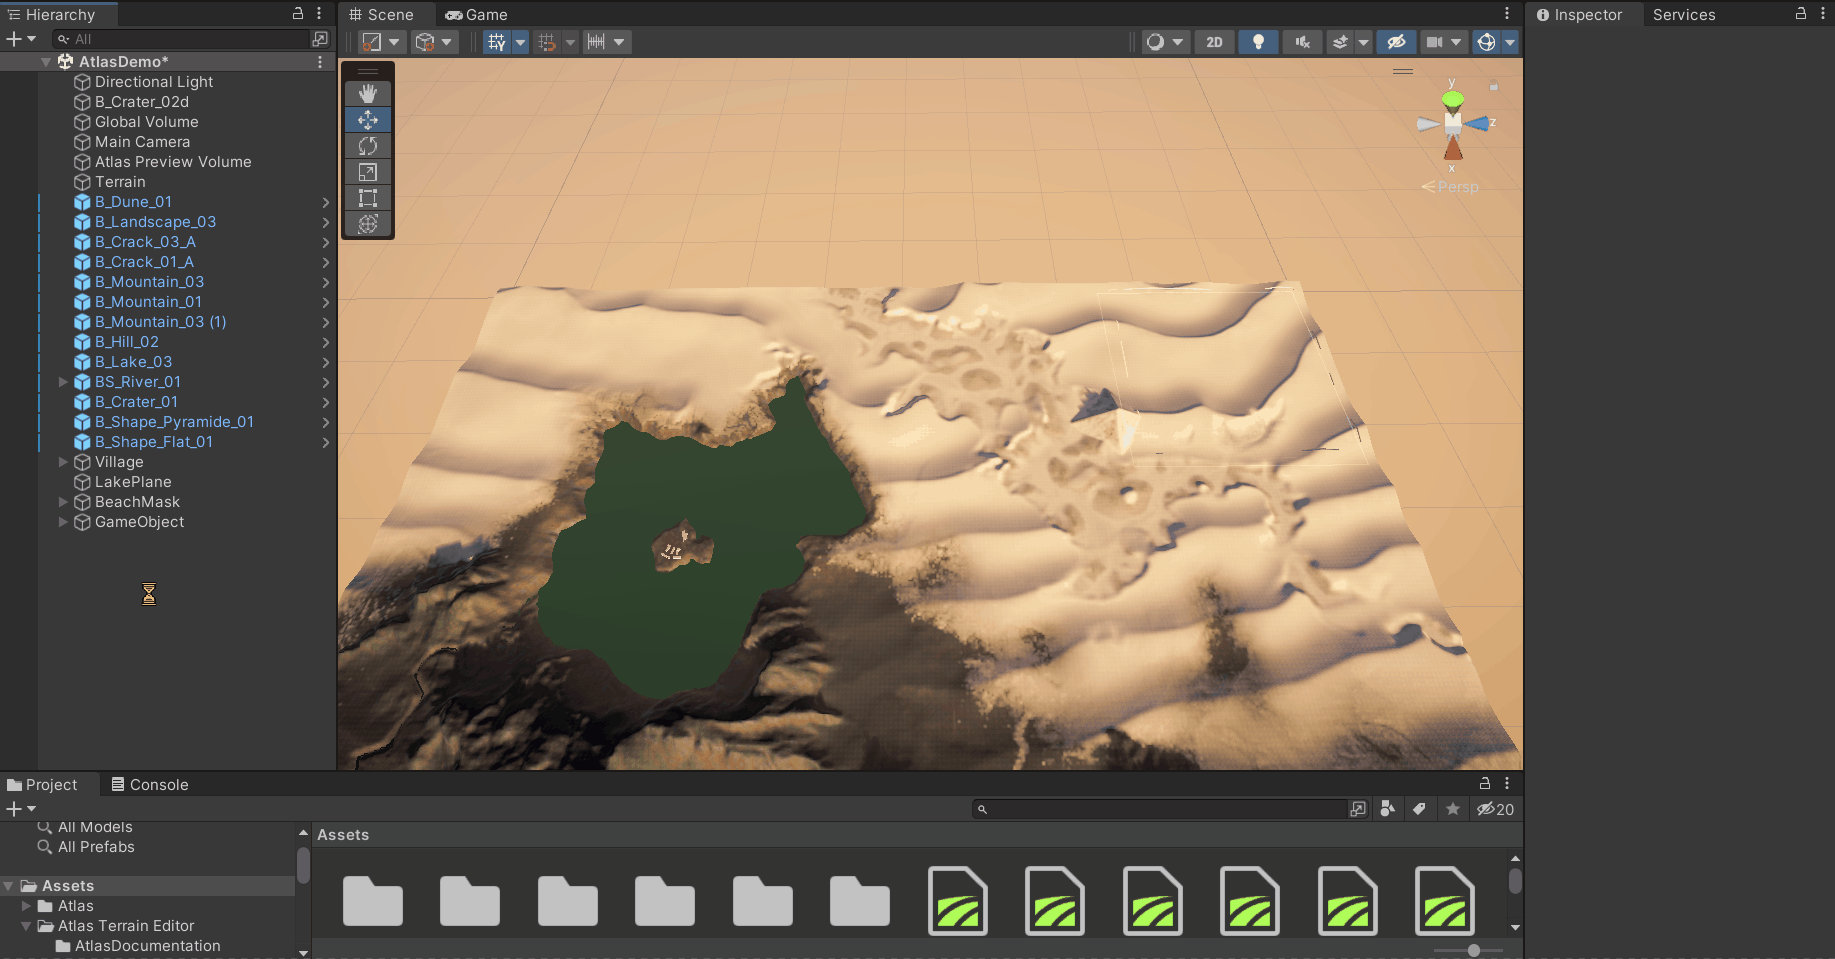
What will be the result of this configuration?
Select the terrain and click render to see the scattering tool at work.
- A layer of big trees will spawn at a distance of about 50 meters between them.
- Each of these trees will spawn 15 big child trees within a 25 meter radius.
- These trees, in turn, will spawn 3 medium child trees within a radius of 7.5 meters.
medium trees will be scaled towards 80 % the original size based on the distance from parent
- The medium trees will spawn 3 bushes in a radius of 3 meters.
trees will be scaled towards half the original size depending on the distance from the parent
Grass scattering
In this example we'll be adding grass, feel free to use this for other things like small rocks and so on.
- Create a scatterer rule asset right click on the project window and select:
Atlas > Unity > Scatter Rule Asset
- Select the Splatmap layer that you want to scatter on and put it on Splat1 (most likely grass).
- Adjust the min and max sliders on the mask to finetune the asset placement threshold.
- Adjust the slope and height sliders according to your wishes.
- Add an element to the detail stack and add some textures or meshes.
When in HDRP you will have to assign meshes unless you have unlocked billboard grass
- Set density value
- Click render on the AtlasTerrainRenderer component.
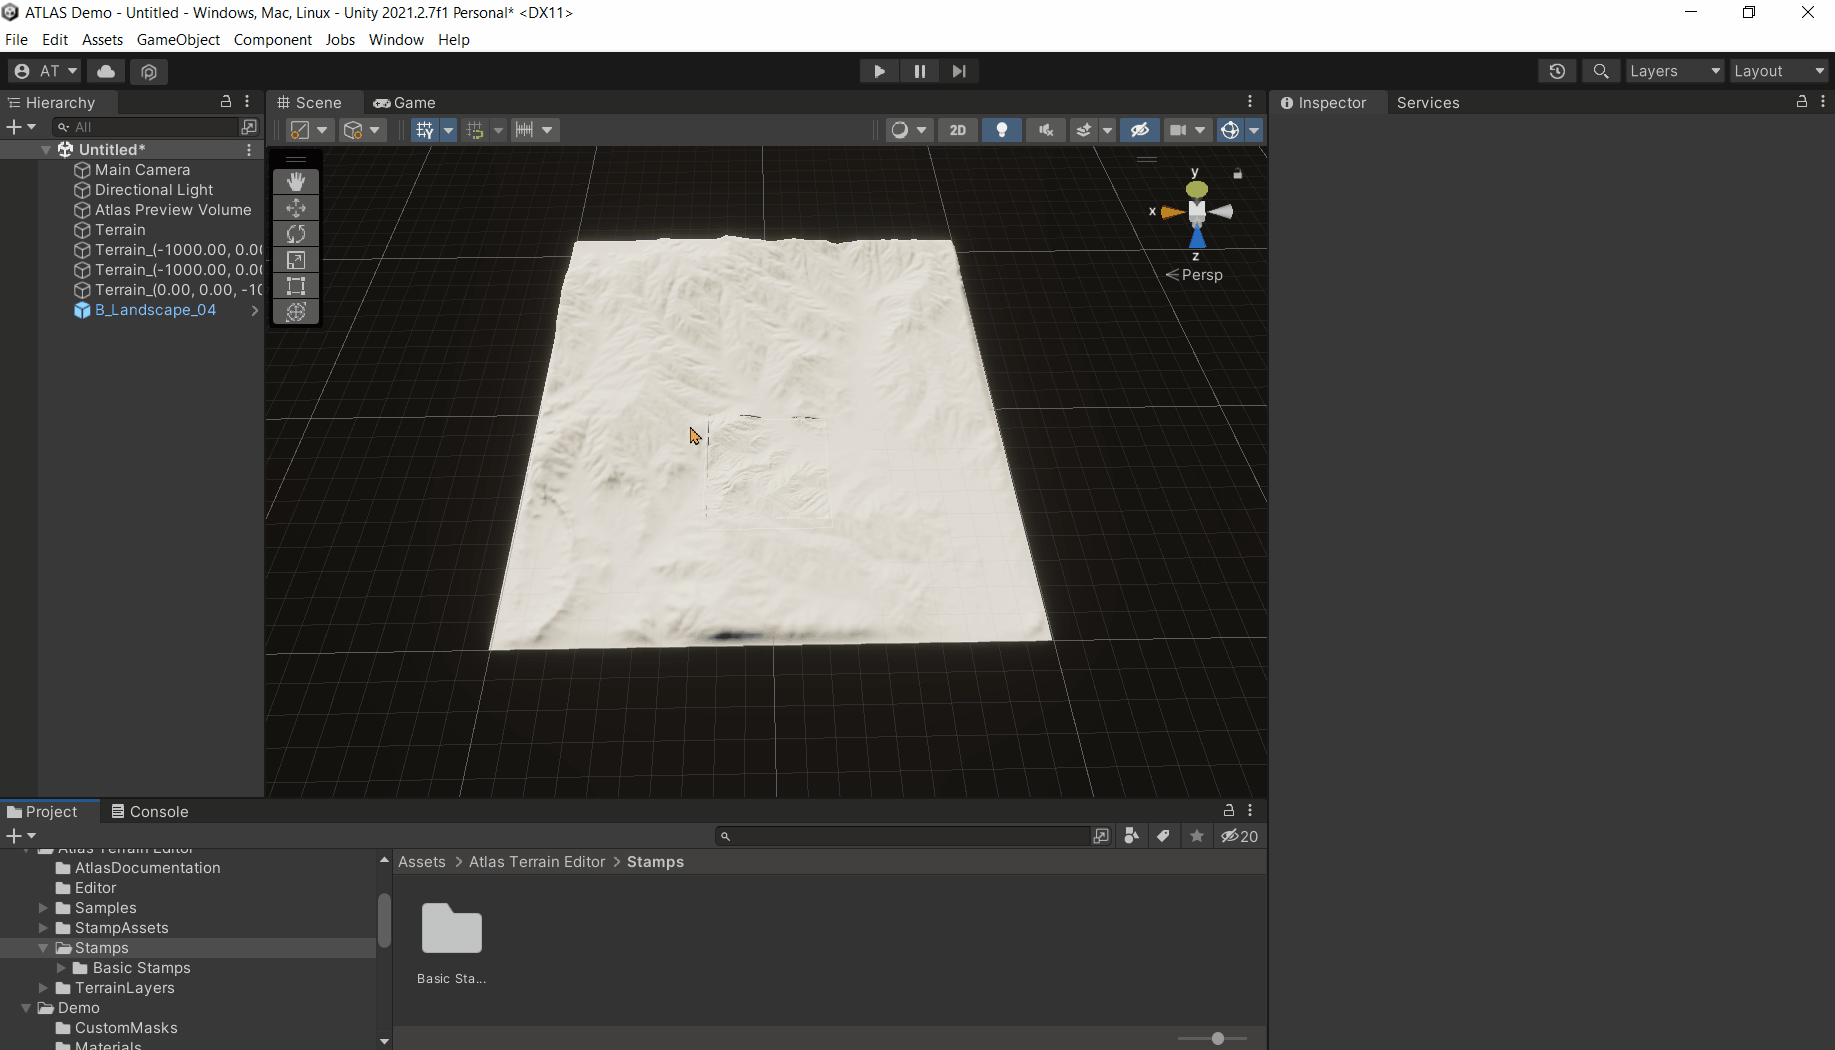
Multiple terrains
- Right click on the hierarchy window and select:
Atlas > Unity > Preview Volume
Atlas will render your stamps in real time within this preview volume
- Create a Unity
terrain.
- Add 3 new terrains using the Unity + button.
- Select all 4 terrains and assign the "AtlasUnityTerrainRenderer" component.
- Resize the preview volume, position it so that it covers your 4 terrains and enter editing mode.
- Place a stamp that spans the entire volume.
- Exit edit mode to apply the stamp to all terrains.
Continue from existing Terrains
requires Update 1.04
In order to continue from existing terrains we need to convert them to stamps first. We can then use those stamps as our base and build ontop from there.
if you do not have or want to update to 1.04, feel free to reach out to get the converter
- Right click on the project window and select:
Create > Atlas > Unity > Atlas Converter Asset
- Select the terrainData you want to convert to a stamp.
- Select use masking if you would also like a mask with the stamp.
- Select normalize height if you want the minimum and maximum height values to be 0 and 1 on the stamp.
- Press Convert
- A stamp asset will now be created based on the terrain data that you entered.
you can keep converting from the terrain data and the stamp will automatically update along.
- Now you can use this as your first stamp, and thus continue from existing terrain.
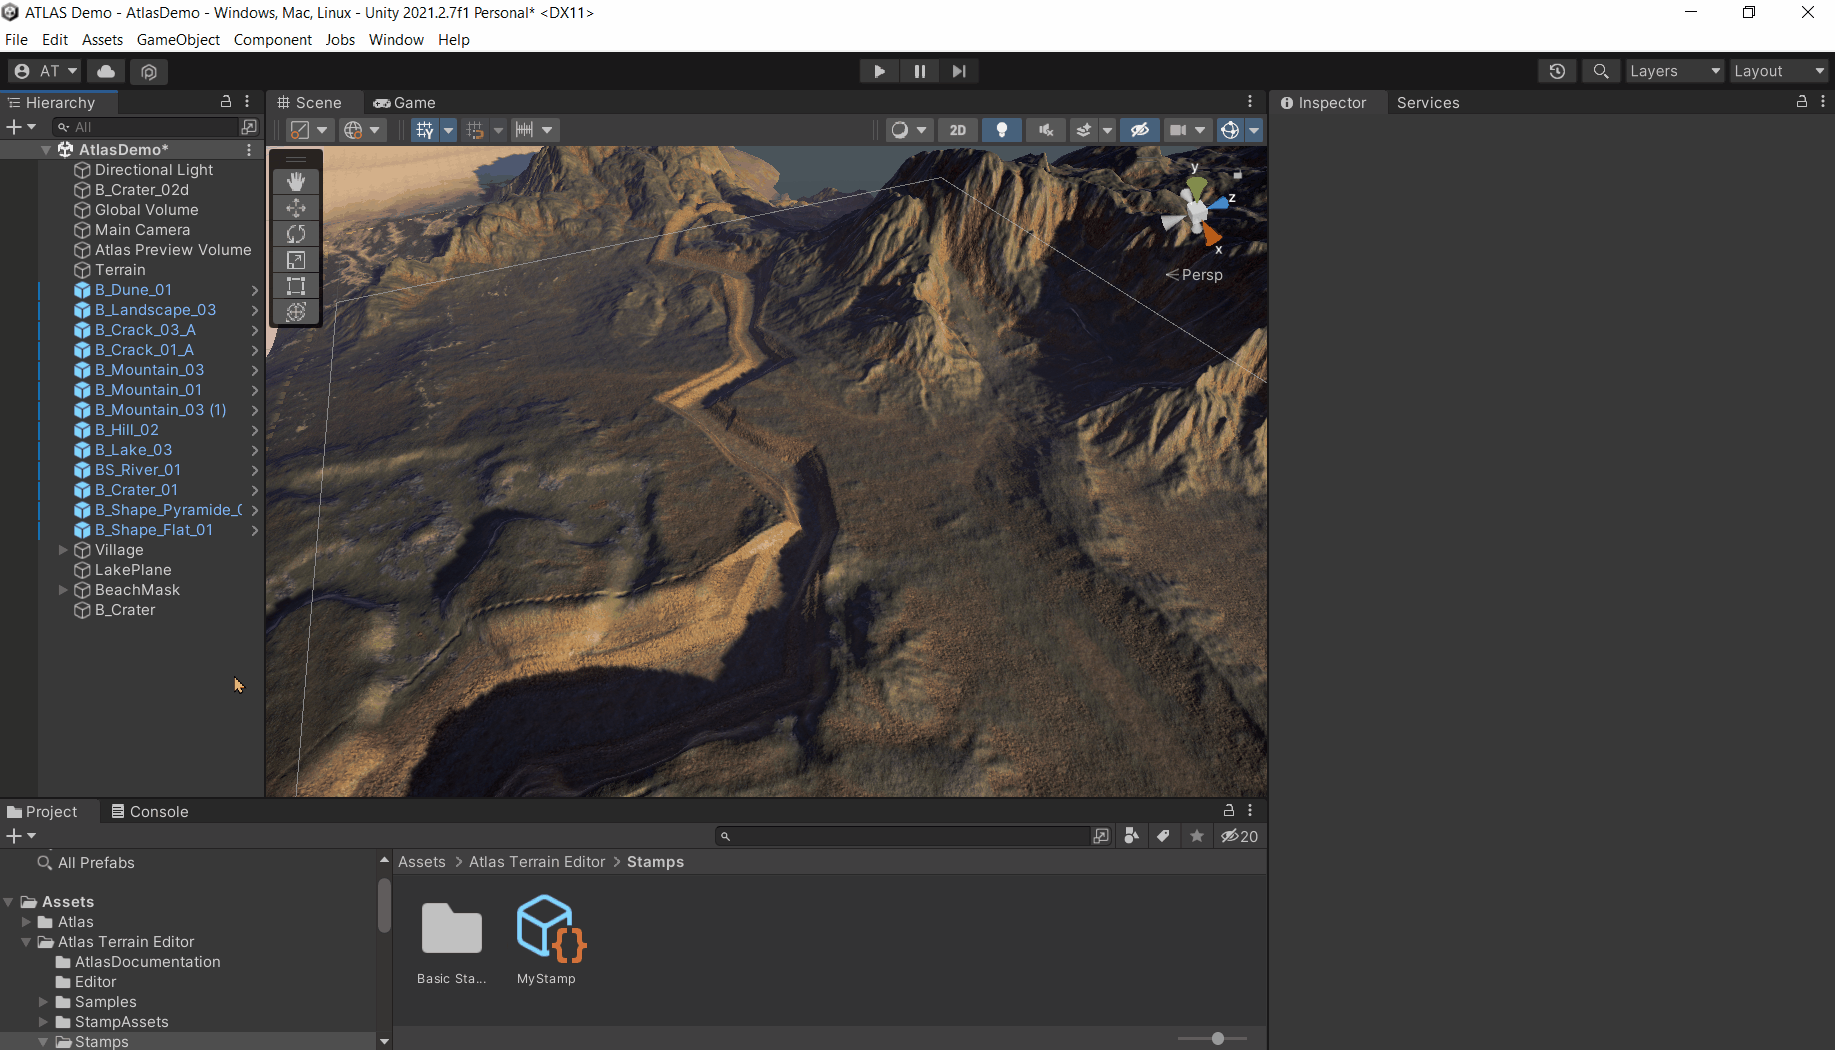
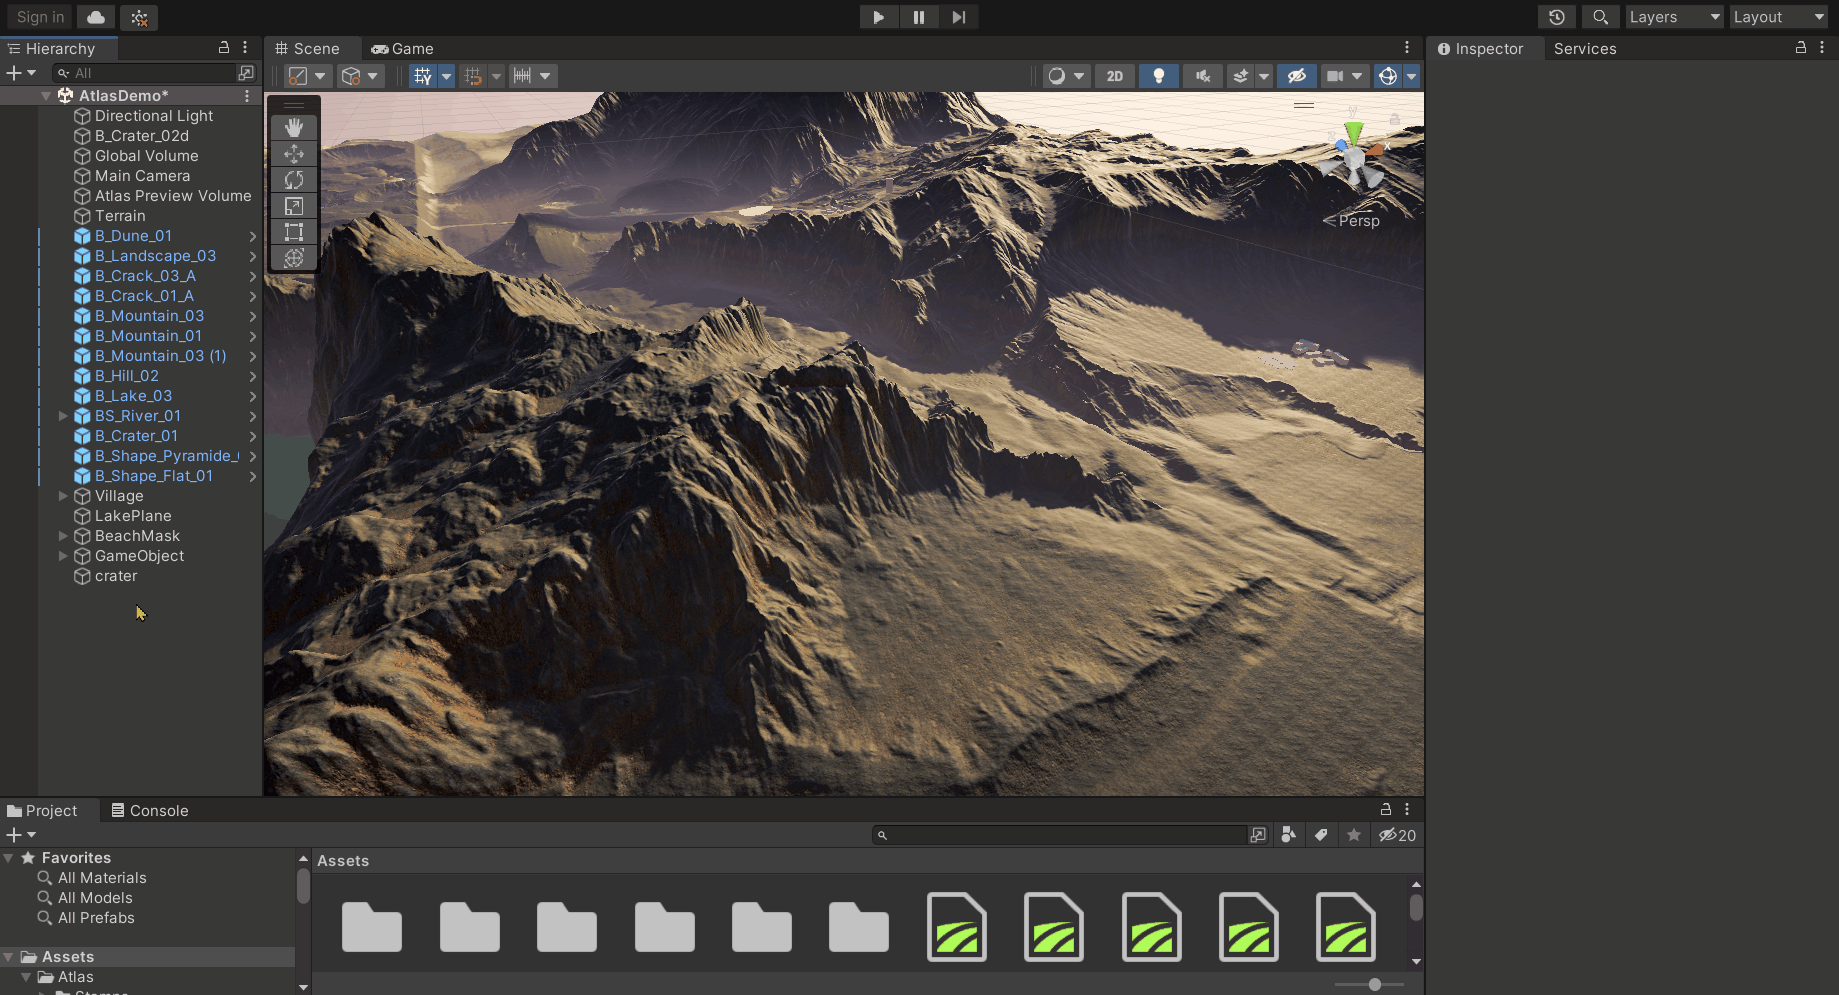
Creating your own stamp assets
- Right click on the project window and select:
Create > Atlas > Unity > Stamp Asset
- Name your stamp asset.
- Insert your textures in the correct slots.
Not all slots require a texture for the stamp to work.
For more information on what each textures does take a look at the
Stamp asset properties section.
- Since Update 1.04 You can pack and unpack textures from the stamp assets.
This means that your textures can become part of the stamp asset itself, the same way as the stamps that come with Atlas.
- Since Update 1.04 You can combine multiple grayscale images into a RGBA texture.
This can come in handy if you exported your flow, slope, deposition, etc maps as seperat grayscale images.
- Since Update 1.04 You can automaticaly convert textures to 16 or 32 bit that need it.
The textures to put in the stamps can be created or most likely Generated in many ways.
here is a list of programs that can help you with that.
Build optimization
Atlas uses stamps to render your terrain, each stamp has multiple textures that make this process possible.
This means that when the stamps are included in your scene they will be build along with the game, and thus will increase the build size.
If you won't use Atlas to change the terrain at runtime they can be removed from the scene, when they are applied to the terrain their job is done...we have the terrain so... no stamps needed in our build.
To do this, you can move all Atlas related gameobjects to a seperat scene that is not being build, this way you still have all your stamps and can still change your terrain whenever you like.
Since update 1.04 we can now go to project settings > Atlas, and enable the Strip stamps from build option, this will remove the stamps when you build your game and also when entering playmode. When using this method you won't need to seperate Atlas related gameobjects to another scene.
Tips, tricks and common questions
- Preview render resolution: use this on the preview volume to control the resolution
while editing.
Lower values give more performance but will result in a smaller "full
resolution square"
- Make sure to assign a source terrain to the preview volume.
without a source terrain the preview volume won't be able to copy your splatmap layers
- Set the input of the first layer on your stamp to none.
This makes a good base layer and
ensures that no
splatmap data leaks through the stamp
- The render order of your stamps is based on their position in the hierarchy.
- The selection of stamps is easier through 3D gizmos.
If you want to select stamps in the scene
view make sure
they are visible and big enough
- Spline stamps can't be scaled with the scale tool, use their properties instead.
- To get rid of unwanted sharp edges of your stamp: use the edge erase property.
- To create steeper mountains: increase the power slider in the height section of your stamp.
- To easily create smoother roads: subdivide twice, smooth it and unsubdivide again.
- If you have strayations on the terrain it is most likely due to 8 bit heightmaps or masks.
- If the terrain is invisible check if the draw option is enabled in the terrain settings. (gear icon)
- If you have sharp edges in rectangular shape it's most likely a stamp that does not have a perfect mask texture assigned, you can get rid of these hard edges by using the edge erase option, found on the stamp.
- If you can't drag a stamp into the scene you are probably dragging a stamp asset instead of a prefab.
Help and support
Visit our
Discord for live support, our team is eager to help you almost every day of the week.
Don't like discord? visit the
Forums and ask away, support is a bit faster on discord though due to the notification system.